Details
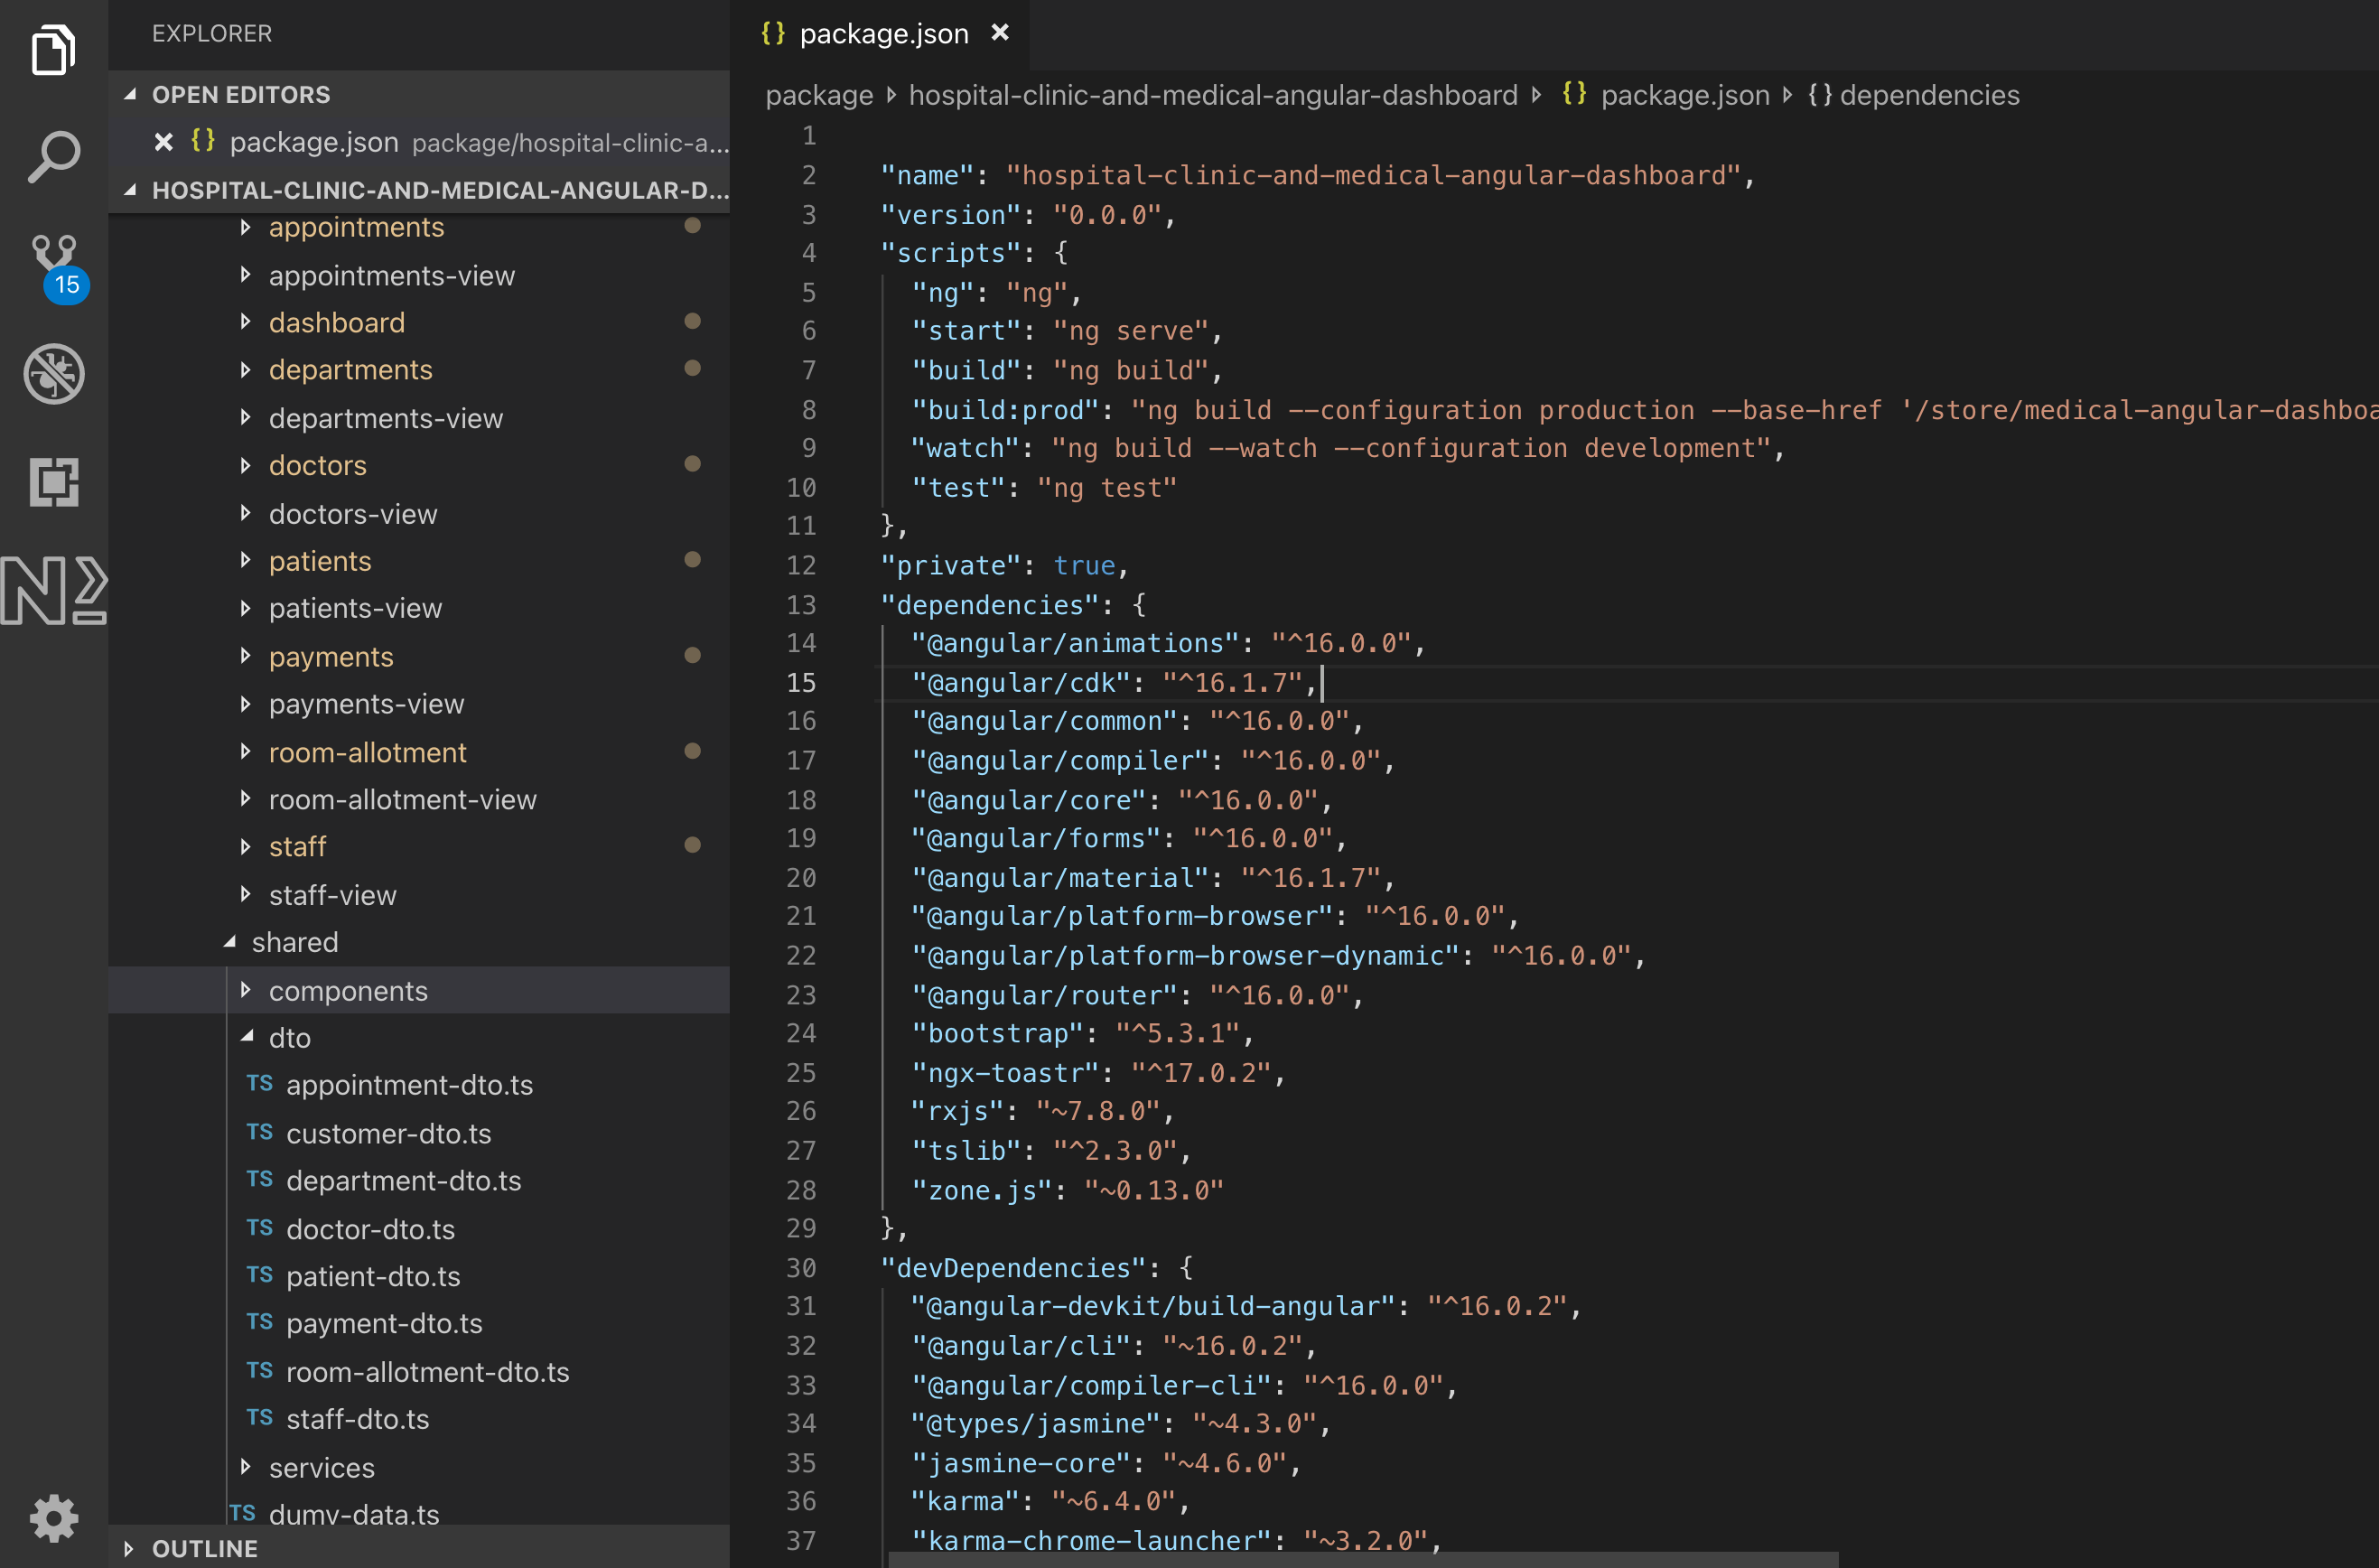
Medilar - Hospital, Clinic and Medical Angular dashboard is an Angular based Reactive Forms and material design. It is a full CRUD (create/review/update/delete) oprations as a starter medical project.
NOTE: This product includes only UI screens built based on Angular material design, and there are no backend/API integrations in this product.
Features:
- HTML5 & SCSS
- Dashboard layout for busy developers
- Full Medical moduels
- Toastr notification
- Based on Angular material design, the familiar framework you know and love!
- Clean & Optimize Code
- Well Documentation
- Very easy to customize
- Well Commented Code
- Top notch customer support
- Free Updates
UI Screens & Functions:
- Appointments - Add/Edit/Delete/View List/Table search/Table column filtration/pagination
- Departments - Add/Edit/Delete/View List/Table search/Table column filtration/pagination
- Doctors - Add/Edit/Delete/View List/Table search/Table column filtration/pagination
- Patients - Add/Edit/Delete/View List/Table search/Table column filtration/pagination
- Payments - Add/Edit/Delete/View List/Table search/Table column filtration/pagination
- Room-allotment - Add/Edit/Delete/View List/Table search/Table column filtration/pagination
- Staff - Add/Edit/Delete/View List/Table search/Table column filtration/pagination
- Dashboard - Statistics cards/View List Table
Installation
- Download and install Node.js
- Unzip "medilar.zip" into "medilar-angular-material-dashboard" folder
-
Open "Command Line" and find folder "medilar" on your PC
Example:cd C:\medilar
-
Type command to install dependencies
npm install
Wait until installations finished -
Type command to run server
npm start
- App should run on "http://localhost:4200"
- Medilar uses Angular CLI configuration
Files included
- Documentation
-
Angular components (SCSS, HTML, Typescript, package.json) files
Build
- Open project folder via "Command Line"
-
Type command to run server
npm run build
- Wait until build finished
- Move all files from "build" folder to your server
- Medilar uses Angular CLI configuration
Sources and Credits
Thank you for purchasing our template. We hope you enjoy our product! If you have any questions that are beyond the scope of this help file, please feel free to email us! Or contact us on our profile site.
Release log
## [1.0.0] - 2023-11-11
*  Initial public release.
Thank You
Again, thank you for purchasing Medilar. If you need some help, or support please use email or contact form via codecanyon profile site.
Hope you happy with the item, all the best with your business.
Copyright © 2022 Abharwork